Mayazul Lodge – Meet our team!
We are pleased to introduce our dedicated team of seasoned guides, where expertise meets passion. With deep knowledge of the As..
by Stephan Dombaj
You travel halfway around the globe to explore the best fishing waters in Argentina, so don’t settle for a lame photo to commemorate a great fish.
More than 36,000 years ago, successful hunters in Spain dragged their kills back to their dark caves and then painted elaborate murals to immortalize their feats. And while the Cave of Altamira, in Cantabria, may not be the oldest account of polychromatic hunting scene imagery, it’s certainly is one of the most famous. Ancient evidence that that the hero shot has deep roots!
In this the day and age of affordable digital cameras and high-rez cell phones, capturing a great moment is a little easier applying charcoal to a rock wall. But still, a lot can go wrong. Presenting a fish correctly for the camera can be troubling for some anglers. (And, if not done correctly, for the fish too.)
Here are a few simple tips from the Fly Fishing Nation crew that’ll get you the be-all and end-all hero shot you want. Just keep in mind that not every fish needs a picture. Trust me.
Check battery/memory card (Seriously, you guys can’t even imagine how often people snap away with no memory cards in the camera.)
Keep the fish sideways in the net while preparing the shot. Dip it into the water in-between the images, let it breath. Do not expose the fish to air for too long. Rule of thumb is less than 10 seconds. Ten seconds can be a long time when you’re gasping for air, so try to keep it as short as humanly possible. While it doesn’t take a good man to be a good sportsman, it certainly is one of the ground rules to treat the creature in your hands with nothing but the utmost respect. Let the fish recover before you set it free. (Educate yourself about the equilibrium test.)
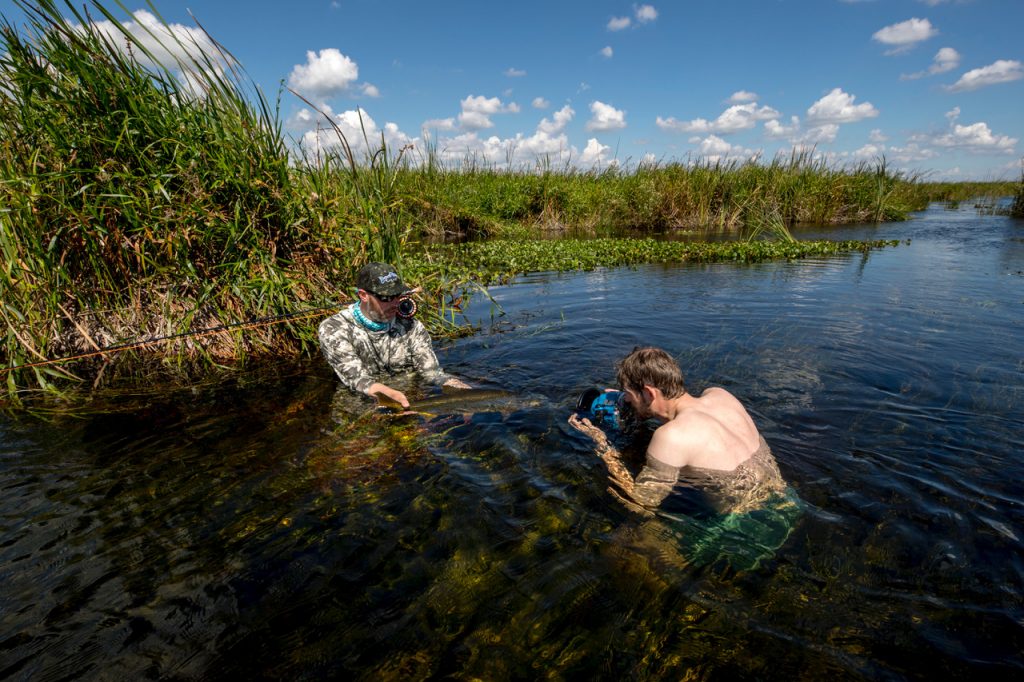
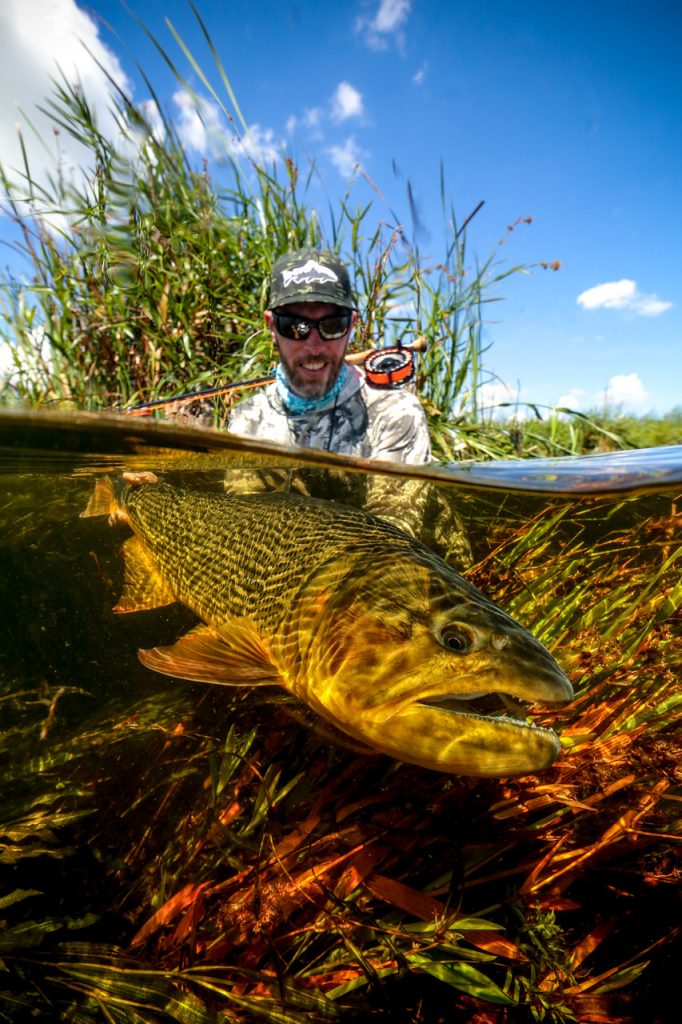
Keep your eyes on the prize for now. Grab the tail from behind with your strong hand! Your other hand supports the fish around the pectoral fins. Make sure you don’t bend or damage them. (Keep your fingers out of the gills!) Here comes the magic. If you lift the fish gently by the tail and keep the head in the water, you can rest the weight of the fish against your lower palms and distribute it evenly. Ideally with the head in the water. When you’re ready for the shot, lift the head slightly above the surface. Quick photo, fish back in the water… that’s about it. Have a look at the sample. This is what you want. The fish here is being handled with utmost care and believe it or not, it was caught again a week after in the same spot, on the same fly.
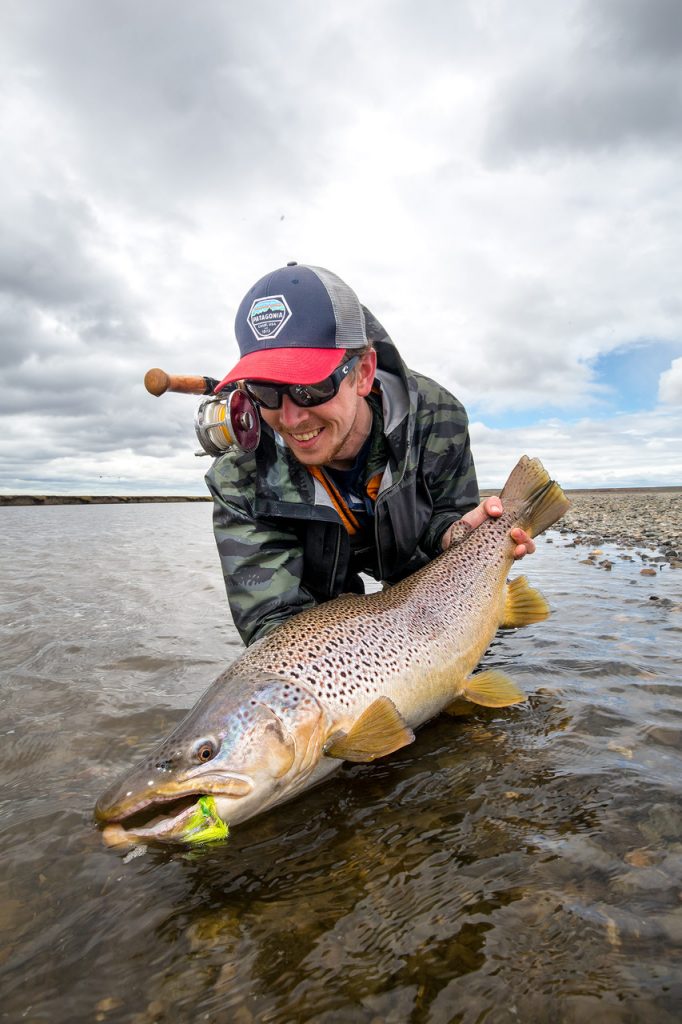
I cannot stress this enough, if you want to lift the fish out of the water, make sure that it’s always dripping wet.
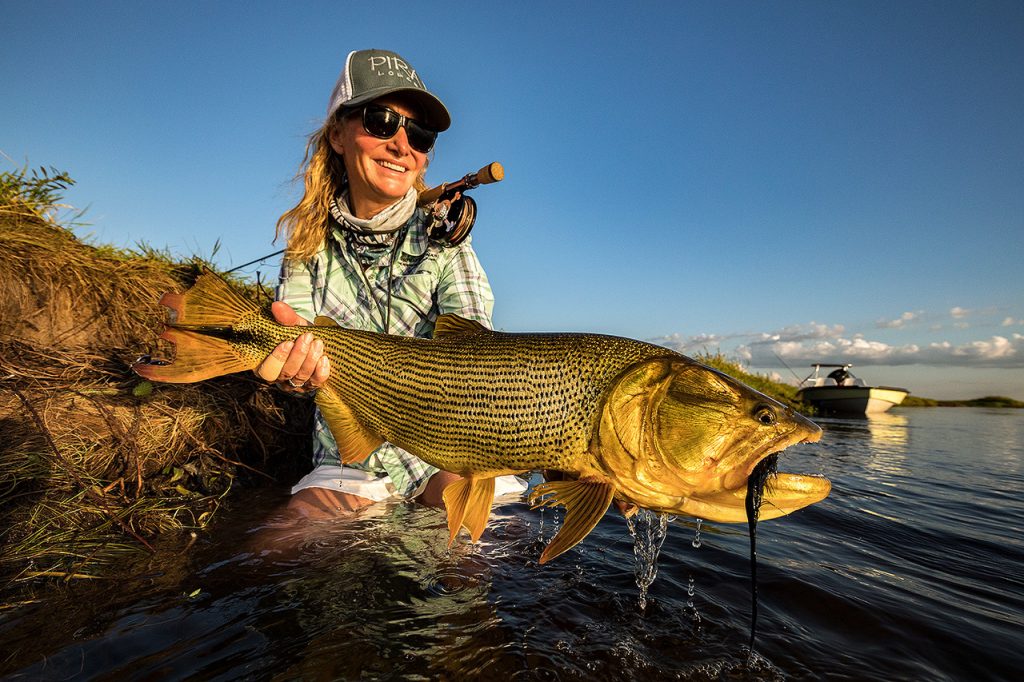
That’s right! It’s your holiday and not a Siberian gulag. Keep your eyes on the fish (look at it) and share your joy over this magnificent creature with the rest of the world.
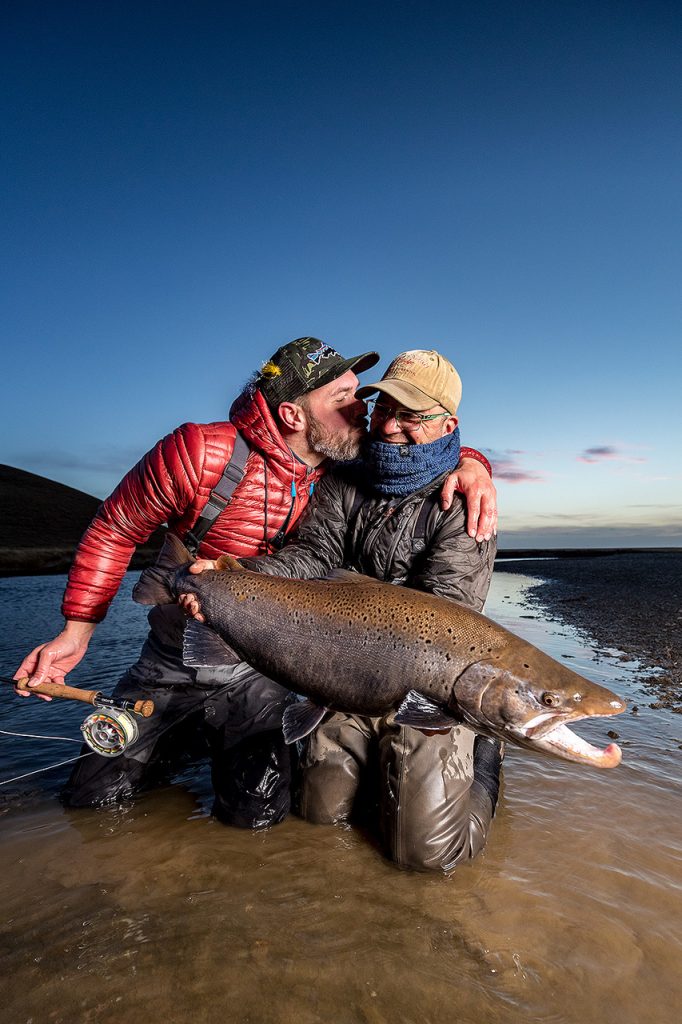
Please don’t cut off the fish or the angler’s head if you’re behind the camera. Give the object some air to breath. You can always crop the image after the fact. Adding a head or a tail to the fish or angler, however, is not impossible. Try to aim for the lower left or right third of the image with the head of the fish. Learn the “rule of thirds”— it’ll make your shot look more balanced.
Hate to break it to you, but please keep the horizon straight. Keeping point 6 in mind will help you straighten an uneven horizon afterwards, without cutting the subject out. A lot of cameras have a grid function. It helps you keep the background straight.
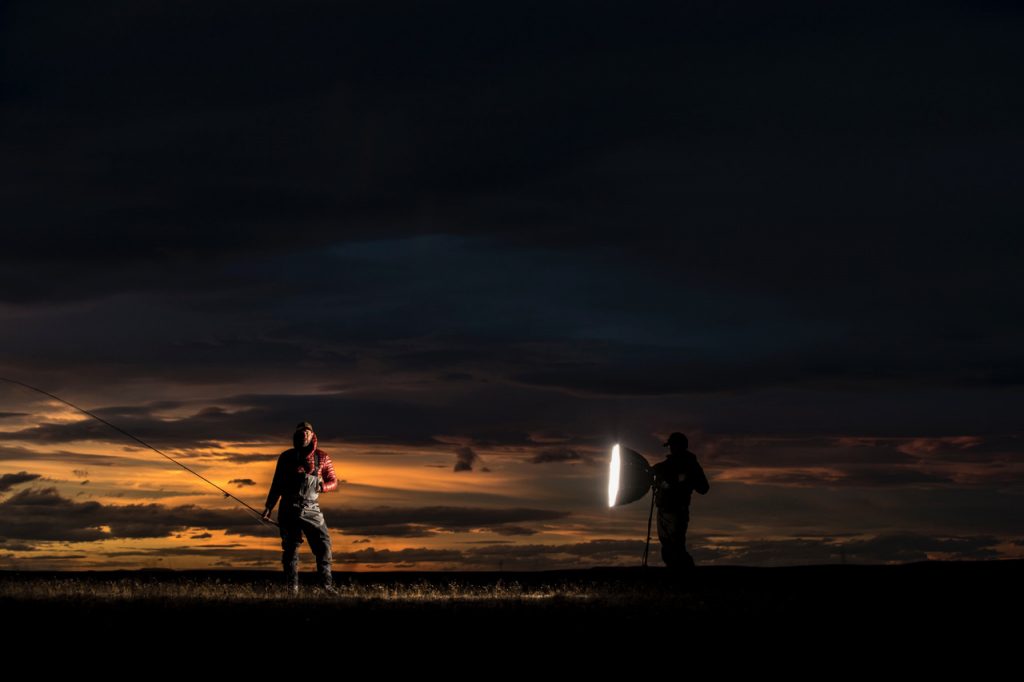
The focal point on a fish shot is always on the eye of the fish that’s closest to the camera. Everything else will look weird to the human eye. If you can’t sleep on the way to your dream-fishing destination, grab the handbook for your camera and read about your focus settings. Not only will it put you to sleep in no time, it’ll also help you take better pictures. If you’re not able to change focus points on your camera, focus on the eye of the fish and adjust to your desired frame before you press the shutter all the way to capture the image.
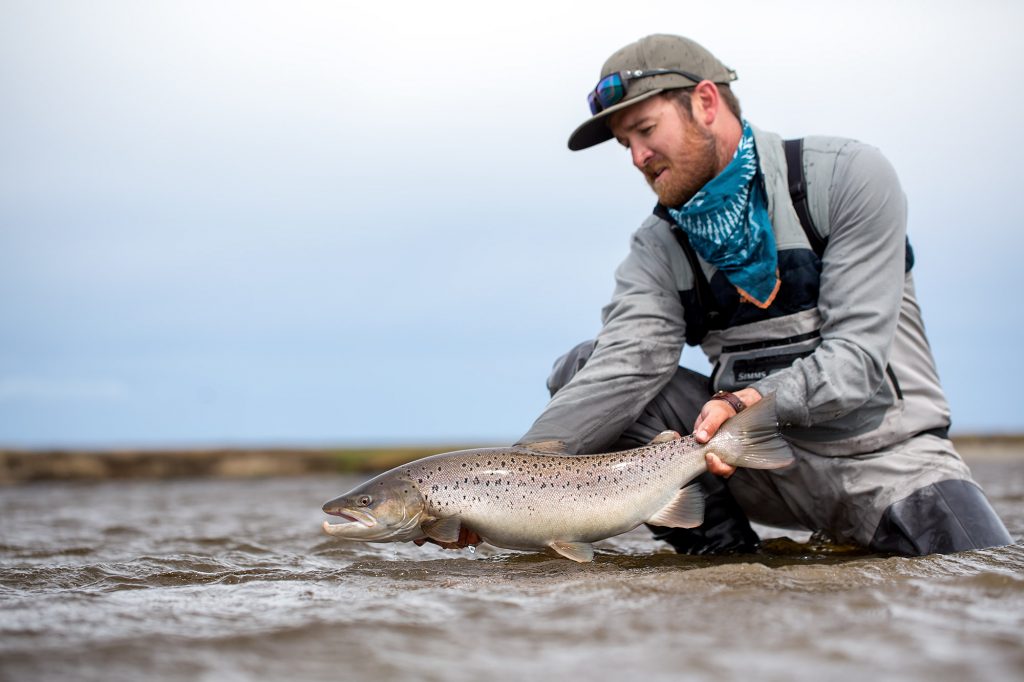
Take a quick second to check the image in the viewfinder for water drops, grass, leaves or any other distractions.
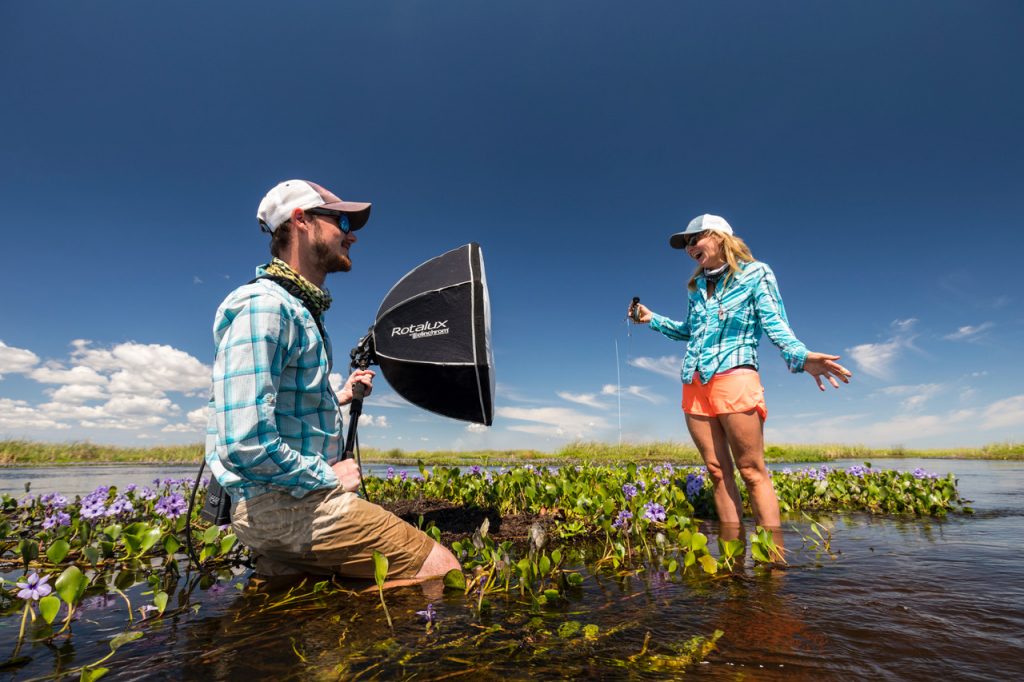
Generally speaking, make sure the light falls onto the subject and does not come from behind. Tilt the fish a little bit to make its colors pop and reflect the light a bit better. But be careful, there is a fine line between too much reflection (blows out the image) and no reflection at all (looks rather flat). Light that falls in from ~ 45° angle from the side usually gives you the best results and—important!—prevents the photographer’s shadow from spoiling the image.
